This particular homebase trip was v exciting because for once we would be spending money on things that were for US, rather than things to fix our rented house. More specifically, the things we were buying were for our new family member here:
Yep, he was in for the works. New skin (ooch), new clothes and new accessories and even new um, drawer-y liners! Woohoo! A facelift for the child from the fifties!
First stop was the sanding aisle. I had in mind to paint the entire thing, drawers and body and all. First step to painting furniture like this (ie lacquered veneered / solid wood) is to sand it sand it sand it. This takes the shine off, smooths out any dings from the sixty years of faithful service, and roughs up the surface for the paint to stick to. Seeing as there is a whole lotta wood here, we thought we'd 'invest' in an electric sander. After much deliberation, we bought a Bosch one. I think it's cos I like saying the name, and it sounds a bit Germanic, like husband. Also, the only other brand-name sander that was in our budget was called 'the mouse', had terrible reviews, was smaller than my palm, looked more like a clothes iron than anything to do with DIY, and the shop demo version was broken. No dice, mousey.
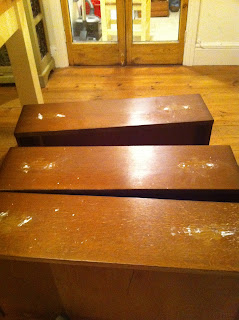
Then we picked up some primer and some satin-finish paint, a squillion brushes, face masks for the sanding and some spare sanding sheets. We went to the till and left, £50 lighter with stretchy massive carrier bags full of marginally-less-dull-than-usual things. Got home, and used the electric screwdriver (my favourite power tool!) to remove all the brass hardware from the drawers. We kept it all with the screws etc in little bags in case we fancied reattaching it later. We then got some polyfiller (wood filler would have been better but it had vanished in abyss cupboard) and filled in the holes where the handles had been:
 |
| Drawers out, handles off, holes filled! |
 |
| Our spacious, purpose-built, dedicated workshop. Ahem! |

No comments:
Post a Comment